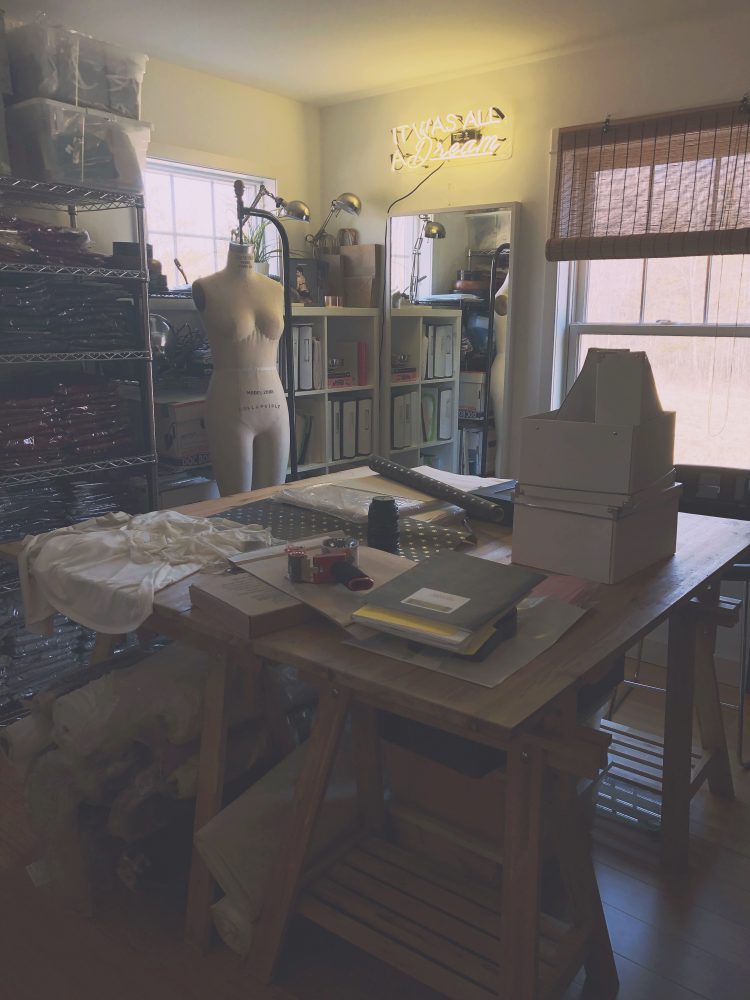
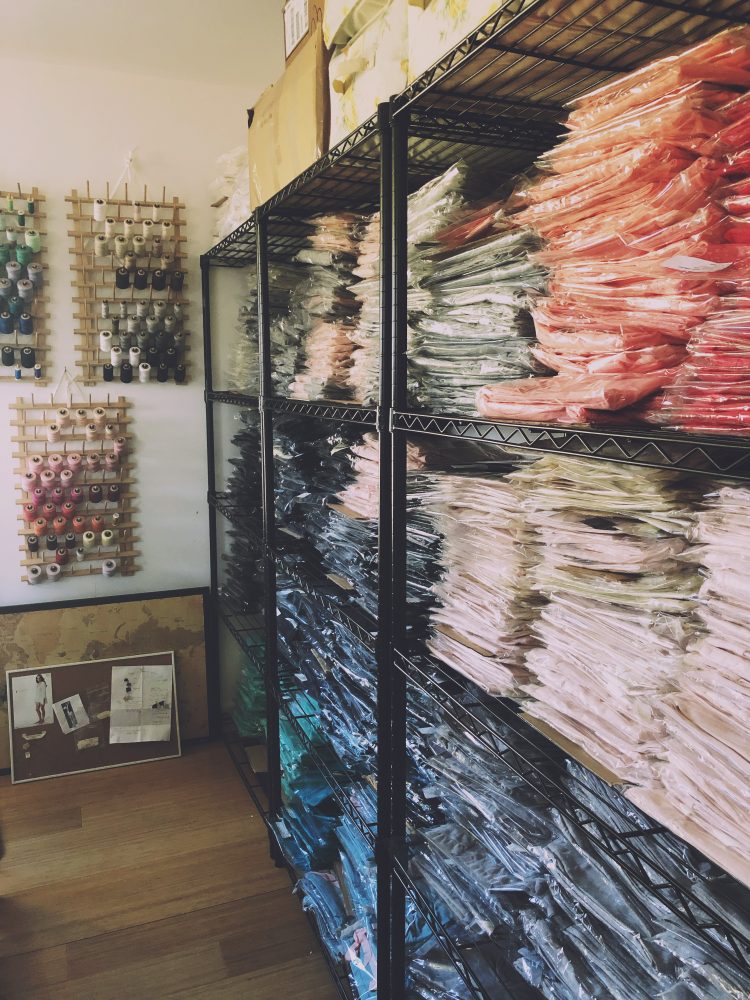
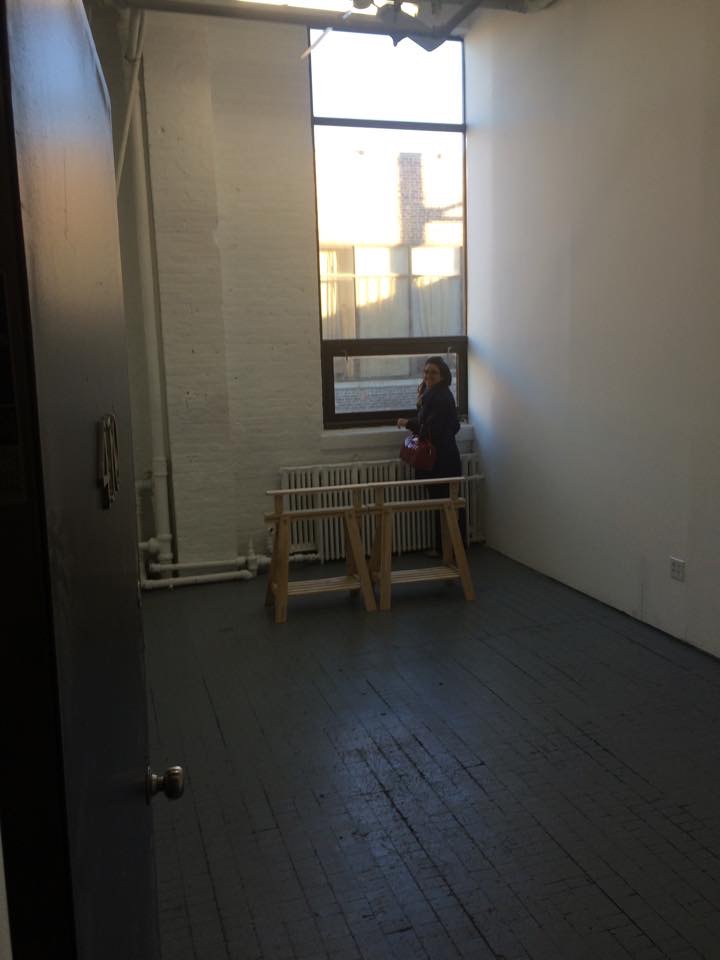
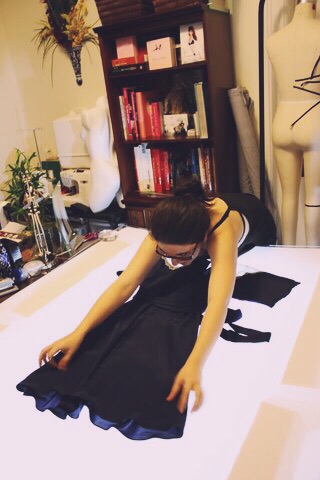
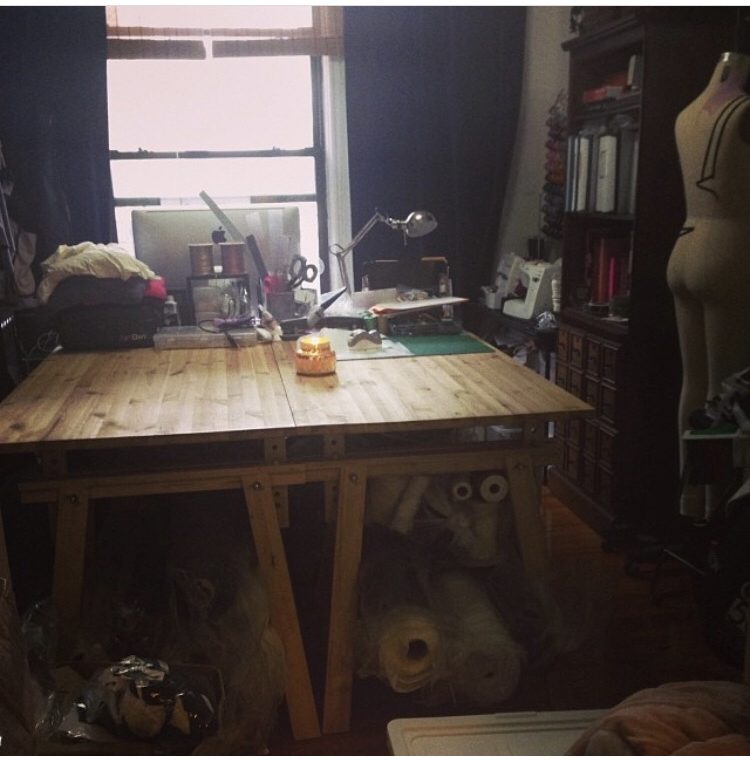
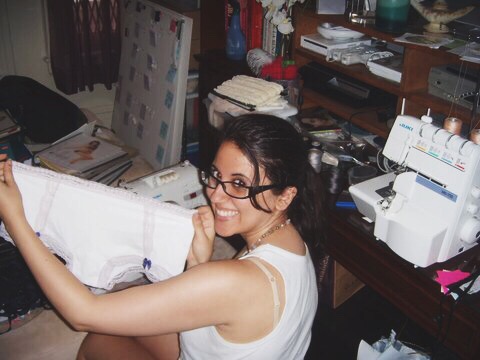
Since we moved our studio and storage unit contents up from city it’s taken way longer to organize and we’re currently inventorying our materials and planning recuts of our most popular styles and taking time to evaluate what’s been selling to plan new designs.

While doing that I am also sourcing new materials, production is more efficient and easier to manage if we can cut multiple styles at the same time.
Planning and tidying up our books for future funding/loans. I’d love to open either a small studio, sample room, or retail space and first step is always financing. With any new facet of business it’s better in my opinion to do a ton of research and planning. So before making any big moves to solidify any of those goals we’re in the dreaming, researching, & planning phase.
Not gonna lie, after many years of paying down debt I’m intimidated of taking on loans again, but also I learned more from setbacks and failures, and I know that in order to see any potential gain I will have to take a risk again, but for my own sanity I am glad I took a pause and wait approach rather than rushing into anything. Hey, I guess that’s the difference between running a business at 24 years old vs 34 years old! It was way easier taking risks before I fell and got up, I’m well worn in now and carry a healthy dose of caution born from experience.
We’re also up for bcorp recertification which I am happy to have Josh’s help with. This also gives us time fo assess our progress and evaluate strategy for improvement going forward.
Oh and I’d love to squeeze in a spring photo shoot when flowers are in bloom!
To see the original post on instagram – click here
We’re collecting all of my March Meet the Maker posts here on the blog for ease of reading and all of you who might not be on instagram or facebook. It was a great opportunity to share a bit more about our brand and hope it helps you get to know me and BTS a little better!
